2. Install in WordPress
In WordPress admin, go to Plugins -> Add New -> Upload Plugin, then select the downloaded ZIP.
Plugin installation
The plugin is downloaded from WordPress.org, activated in WordPress admin, then explicitly connected to your CashFlowCanary account.
The flow is intentionally explicit: nothing is connected until the WordPress administrator enters the token and WooCommerce keys.
Open the official WordPress.org listing, download CashFlowCanary Checkout Monitor and keep the ZIP file intact.
In WordPress admin, go to Plugins -> Add New -> Upload Plugin, then select the downloaded ZIP.
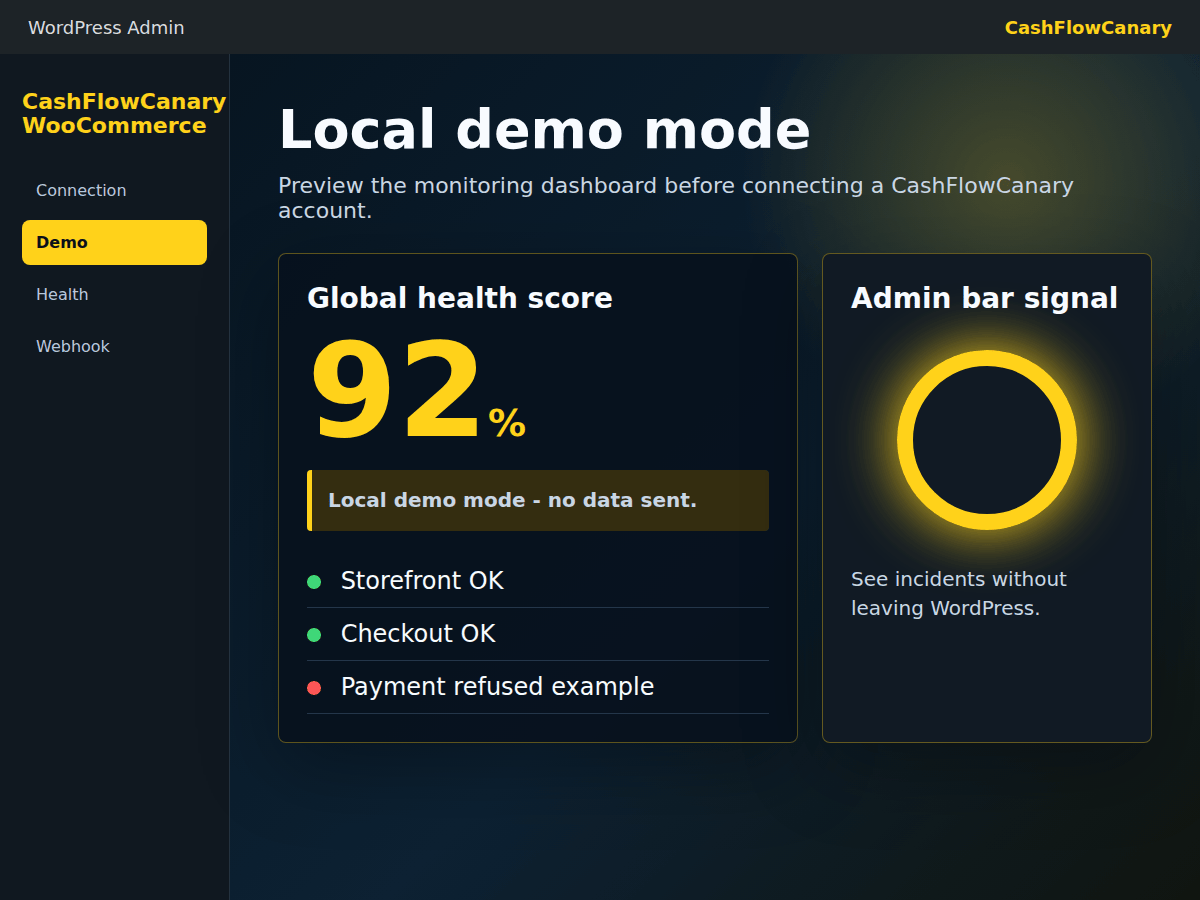
Activate WooCommerce and then CashFlowCanary. The plugin exposes a dedicated admin page with local demo mode.
Create a CashFlowCanary account, enter the site token and add WooCommerce REST keys when you want to move from demo to live monitoring.
Before live connection
Local demo mode lets you check the WordPress rendering before any service connection. Live monitoring starts only after explicit setup.
The private endpoint should answer only with the expected token and expose aggregate diagnostic signals.
Webhook setup should stay visible and reversible from WordPress admin.
Once the site is connected, the cockpit shows the latest plugin check and the next expected check.